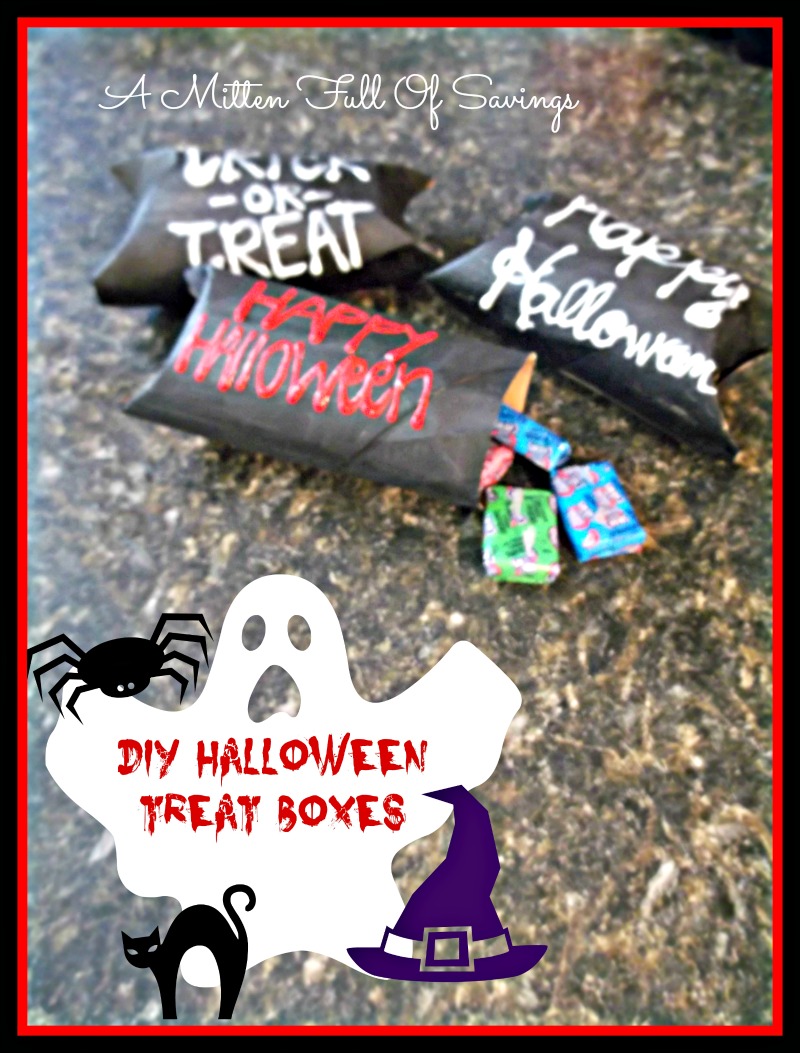
DIY Halloween Treat Boxes
These DIY Halloween Treat Boxes are SO EASY and SO AFFORDABLE to make! You can make them for close to nothing, it’s a great repurposing project and an awesome way for your kids to be creative with taking in treats for their Halloween parties at school. So I hope you all really enjoy making these! It only requires a few supplies so let’s get started!
Money Spent: I personally spent no money on these because I already had everything to make them, but you would at the most have to spend about $3 to make a whole bunch of them not per box!
Time Spent: about 5 minutes to make one.
Supplies needed: Toilet Paper Rolls (These make for awesome repurposing uses, so start saving them!) Also, a Black sharpie or magic marker ( If you don’t already have one, I would suggest buying one of the big fat chisel tip markers because you’re going to need to color a lot of them!) and finally you need puffy paint ( these can be found at wal-mart or any craft store for about $1 each)
Procedure:
-Start by coloring all of your toilet paper rolls black, you could also paint them if you prefer. I just found coloring them with a magic marker was easier and faster because I didn’t have to wait for paint to dry!
-Next, fold in each side of one end to form a crescent shape at the end
-Fill with CANDY!
-Repeat step 2 on the other end!
-Take your puffy paint and write any Halloween message you would like, with any color you would like!
-Allow the puffy paint to dry for about 5 minutes
You’re all done! Take those bad boys to school and start handing them out! You could even hand them out to trick-or-treaters this eliminates the children taking HUGE handfuls of your candy because you get to control how much goes in each box! I hope you all have fun making these and I hope they are useful to you!


